How to Take Attractive Pictures of Shoes
Preparing for your footwear photo shoot and completing a successful one requires a lot more than just putting your chosen pair of shoes on a set and then taking some decent photos.
There are some essential steps you need to keep in mind before the shoot itself and during in order to have a smooth running operation and get the desired results as fast as possible. After all, time is money and in the fashion e-commerce space that cannot be more true.
In this post we cover the following tips:
-
Prepare your shoes in advance
-
Light your products correctly
-
Get the right cameras and lenses
-
Choose effective angles
-
Keep in mind the file destination
You will need:
-
A pair of shoes
-
A set for the shoot, with the right lights and cameras
-
Chopsticks (not necessary)
-
A cloth to clean shoes
-
White cart / white reflector

Prepare your shoes in advance
Get your shoes in pristine condition before you even start shooting. That will not only help you produce stunning pictures faster but it will also save you valuable time in post production.
In order to avoid more unnecessary work for yourself while you’re shooting, simply make sure you have all the necessary equipment for cleaning your shoes and for showcasing their best shape.
Those items could include:
-
Brushes
-
Cloths for polishing
-
Scissors
-
Materials like tissue or paper for stuffing
-
Chopsticks to straighten shoes like flats e.g.
-
Canned air (for a final touch)

Light your products correctly
To create beautiful imagery of footwear, you need nice even light to make the shoes in your photos stand out a bit more. You’re basically looking to create a basic overall light setup.
You should have light coming in from both sides towards the shoe. Make sure to keep the contact shadow at the bottom of the shoe.
You might also want to get elements like metal work to stand out in your pictures if your shoe has such features. That’s why you might need to add some white cart or white reflector in. Add the front fill and look for a wide reflector. Make sure it’s not too bright though – if that’s your case, just lower the exposure.
If you want to light the front part of your shoes but not disrupt the image by over-lighting the front of the shoe, just add a bit of light to the background. Focus and then take the shot. The lighting should look nice and even. Clean out your chrome.

Get the right cameras and lenses
The lens you pick shouldn’t distort your product. To avoid that, make sure you’re on a decent f stop to get everything in focus that you want to get in focus. That will also affect your depth of field.
Specifically: choose a lens of about 15mm or above so you don’t distort the look of the shoe. Make sure you’re not changing the shape of the shoe by the lens you’ve chosen. Wide angle lenses tend to distort the product.
Another important factor to keep in mind: by putting your camera on a tripod, you can choose any shutter speed that you like. That will help you reduce the ISO so you don’t get a noisy picture, and instead, you end up with a nice clean image that has good sharpness overall. Because you’ve chosen a good f stop and as your camera’s on a tripod, the shutter speed won’t matter.

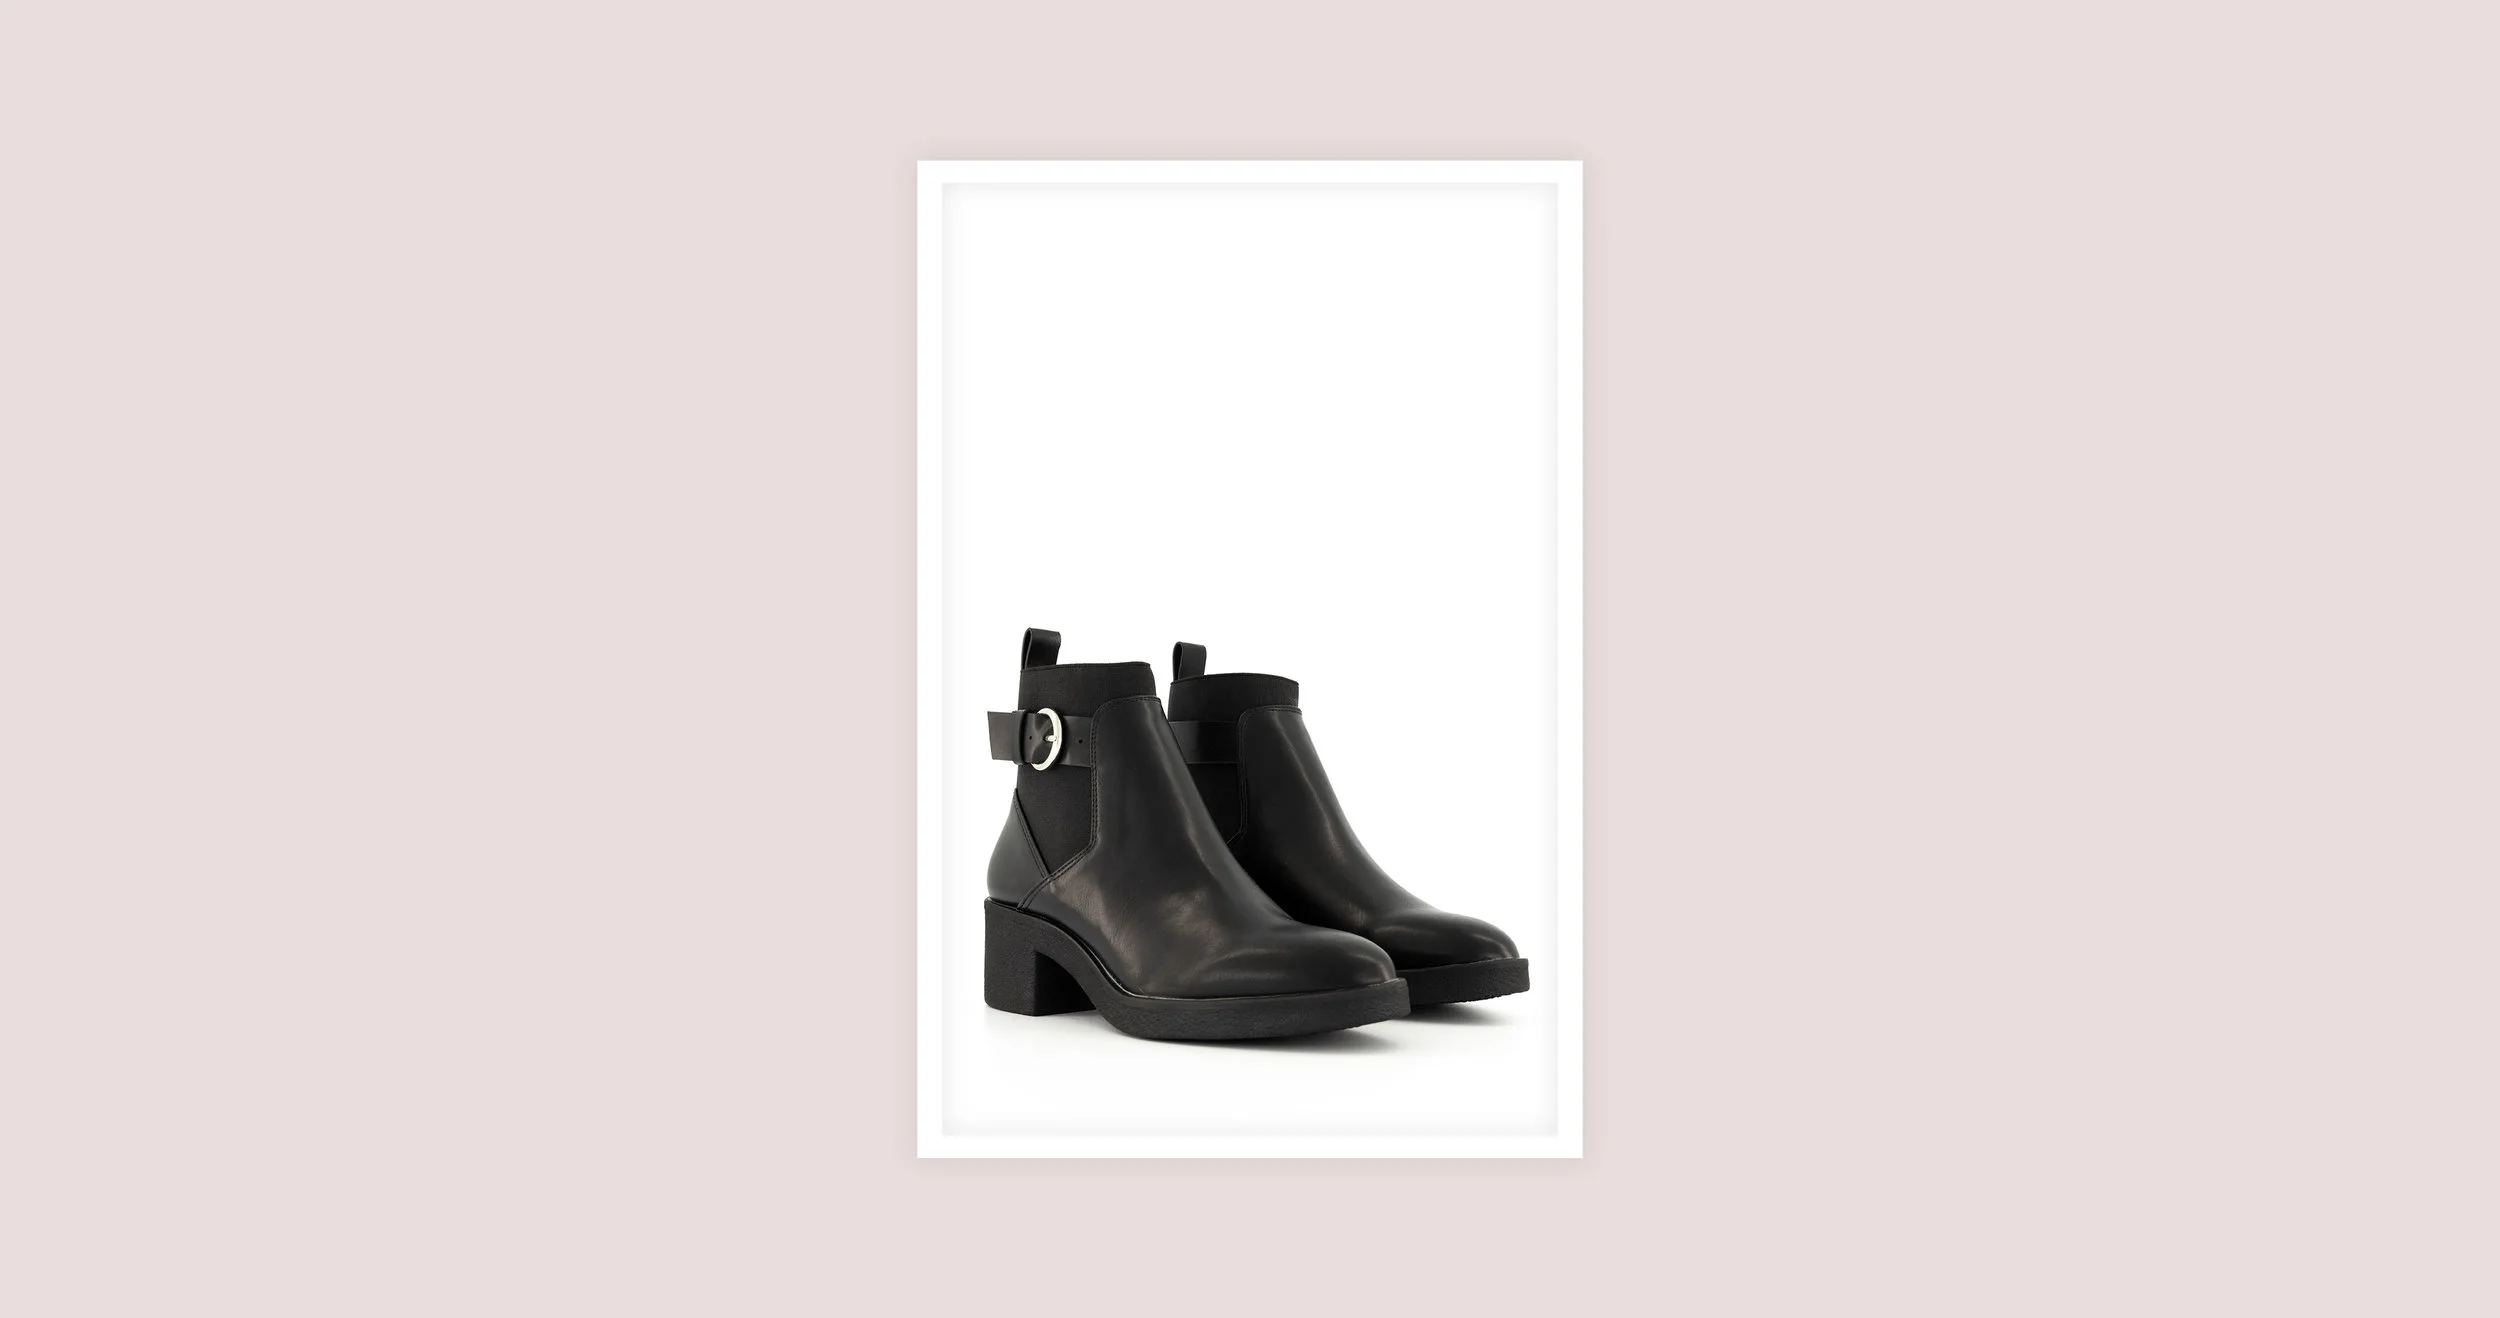
Choose effective angles
When shooting shoes, it’s all about angles. Aim for shooting effective angles that show off all details and sides of the shoes so your customers can get a good idea of what they’re purchasing.
The angles that you choose are, of course, up to you. However, there are some key angles that work well for footwear photoshoots and you can use them for inspiration. Choosing a few key angles can really help your footwear photography.
The single angle shot
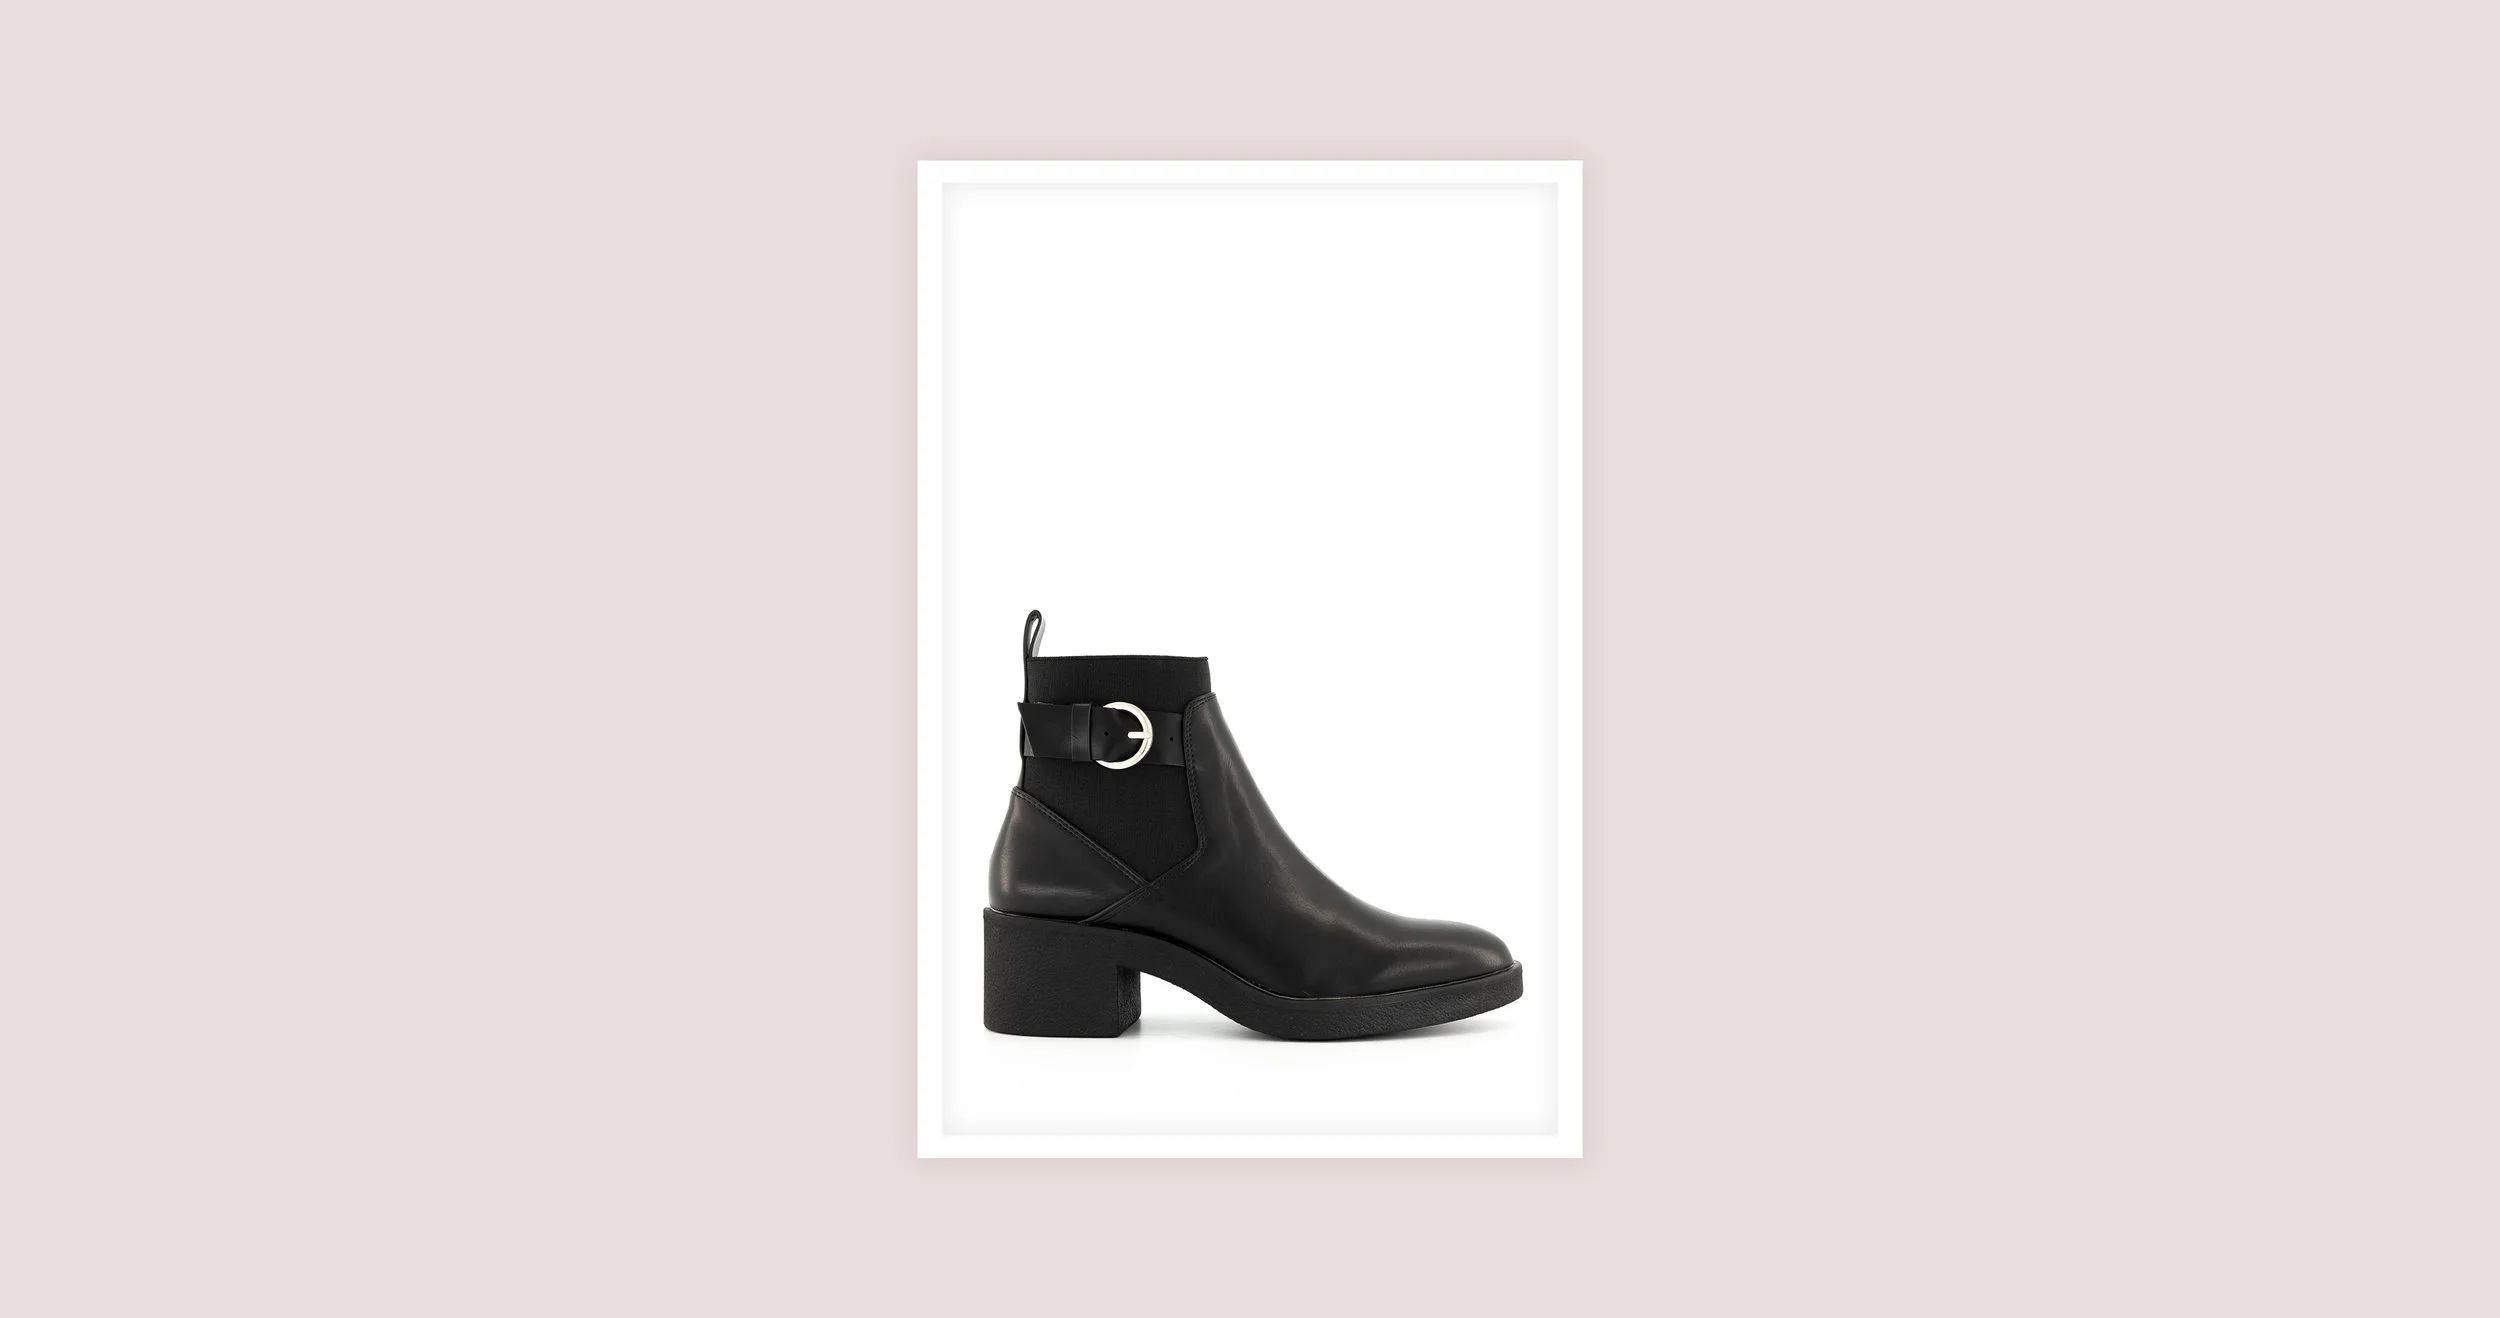
Take it from the side. Photograph only one shoe from the side so you end up with a profile shot.
The ¾ shot
Add the second shoe in the photo as well. Turn the pair of shoes slightly to the side. Focus on the first shoe and then take the shot.

Back ¾ shot
This is a detailed shot – focus on the front shoe. All shoe elements should be looking nice and neat so make sure to clean them in advance. You’re aiming for polished.

Front angle shot
Put the pair of shoes in one place and shoot them from the front. Focus on the first shoe.
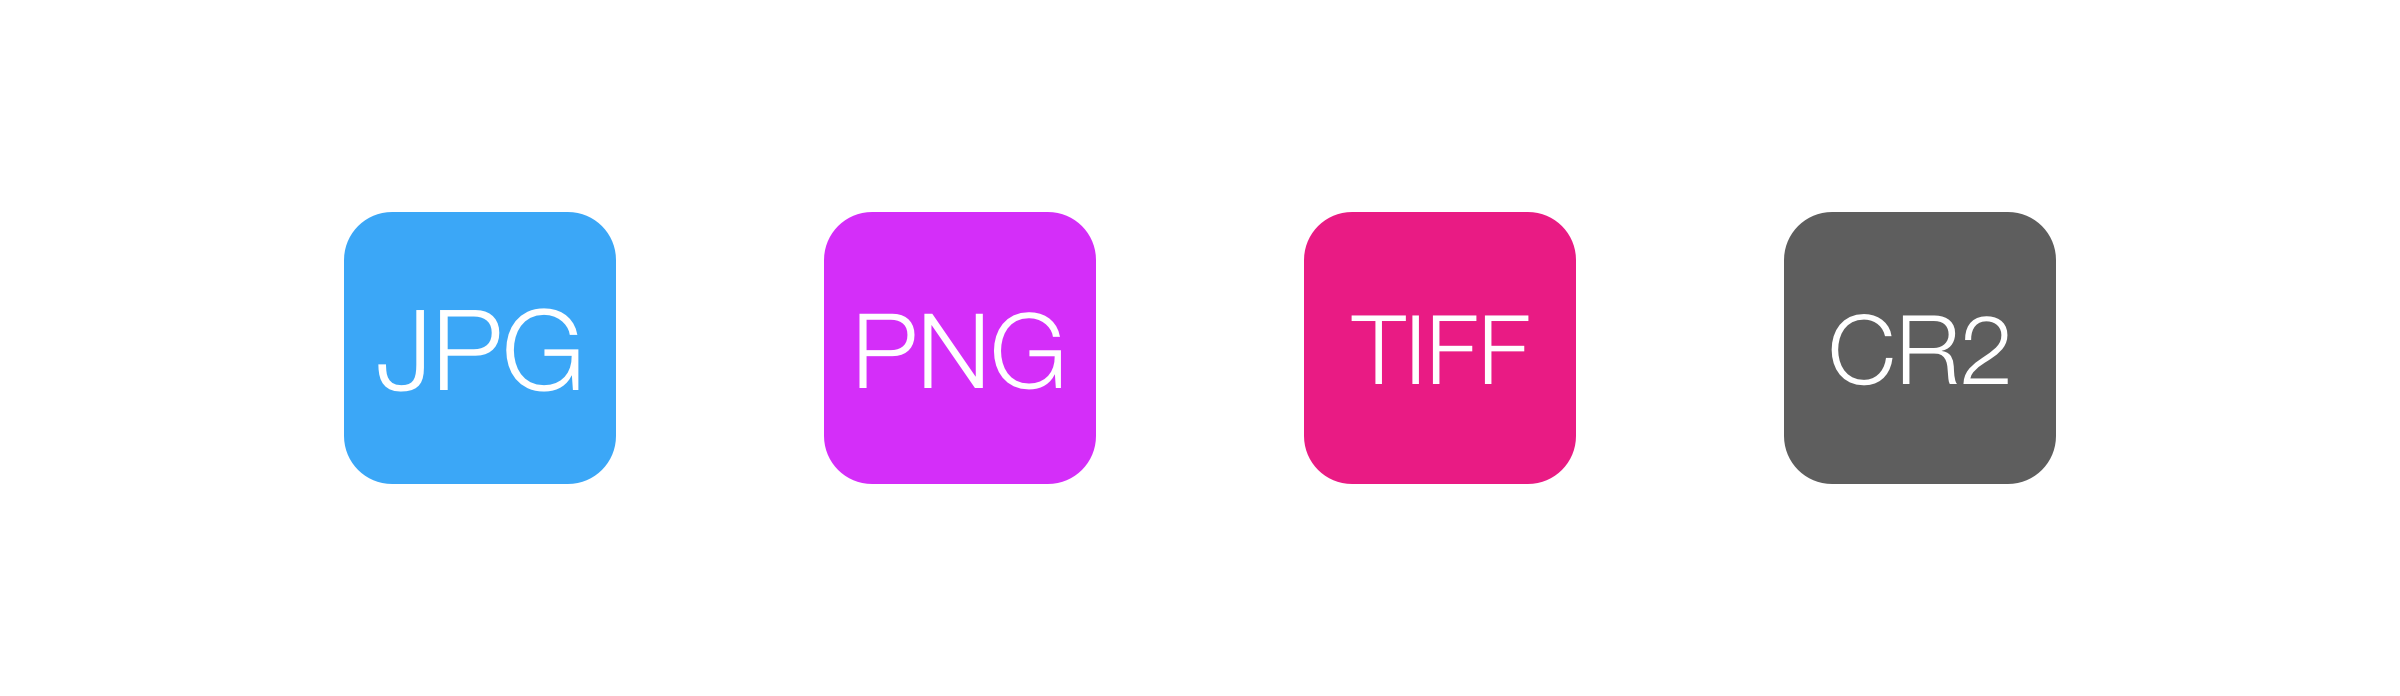
Keep in mind the file destination
Choose the right image type for what you wanna do. If you want your images to go straight to your website, then a JPG is sufficient. If you want to do further editing, choose a RAW file. This way you’ll be able to edit your image and then export it in JPG or TIFF at a later stage for whatever reason.
With these 5 tips, you should be able to start producing some lovely footwear shots quickly. And remember, if you spend enough time in preparation covering essentials like cleaning your products, choosing the right angles, creating the right lighting, etc. you will create stunning results without wasting time and avoiding unnecessary work in post-production.